Dashboard
I've never really liked the YJ dash, so I figured now was the
time to customize everything (Jeep is in pieces for paint).
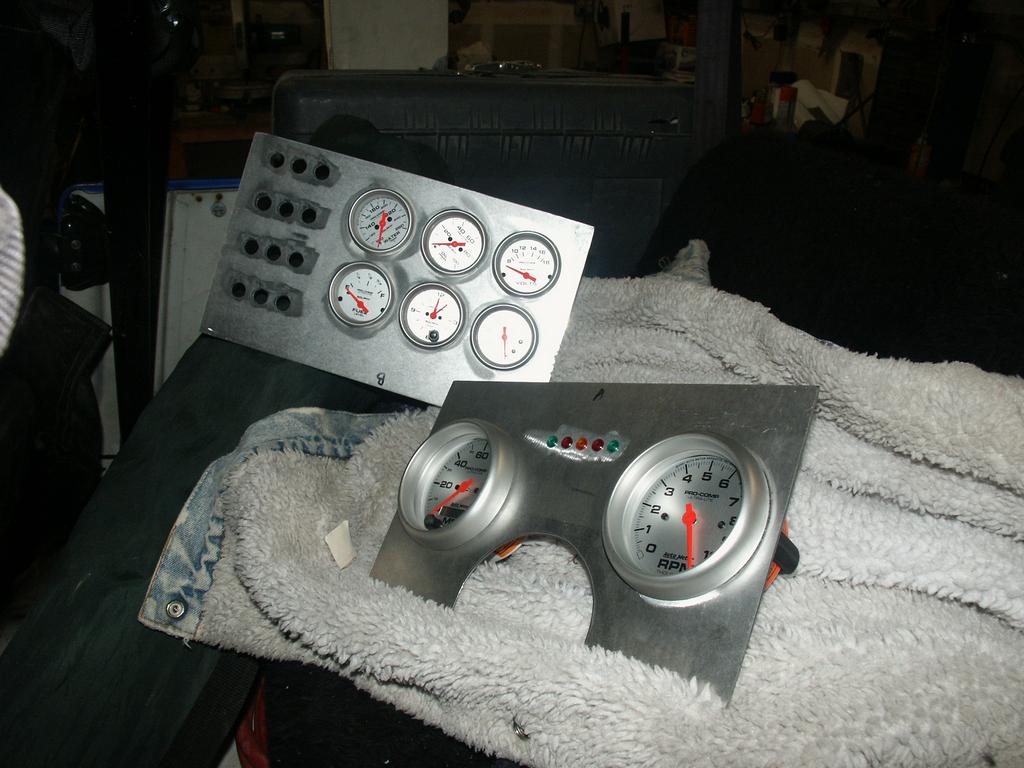
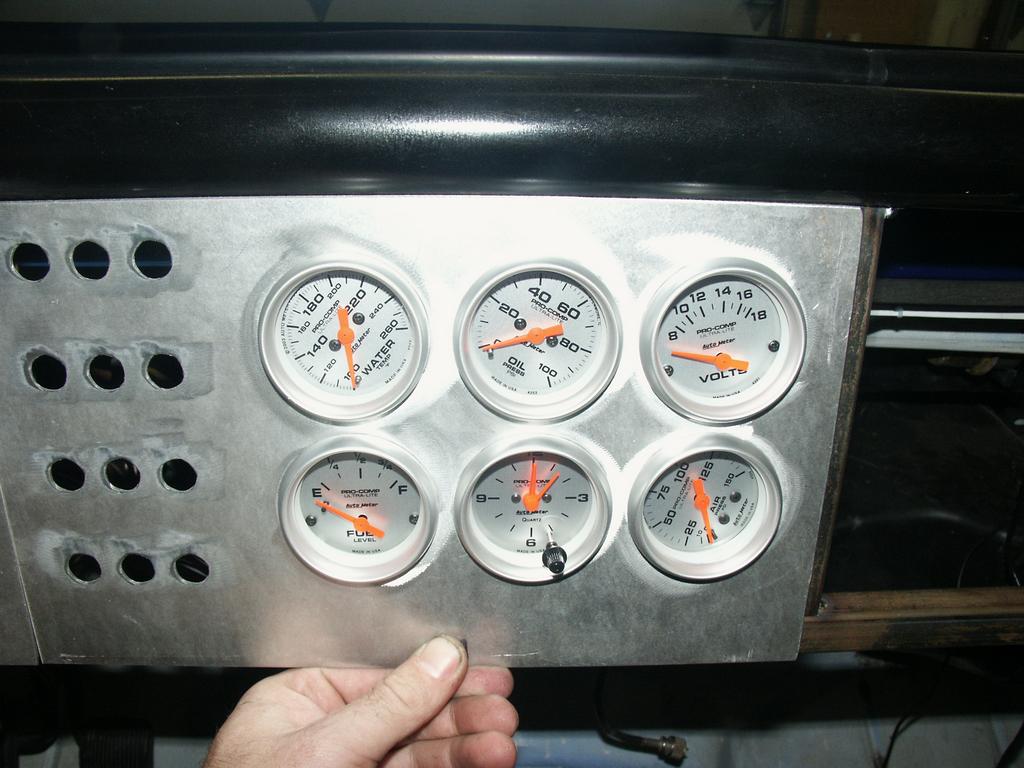
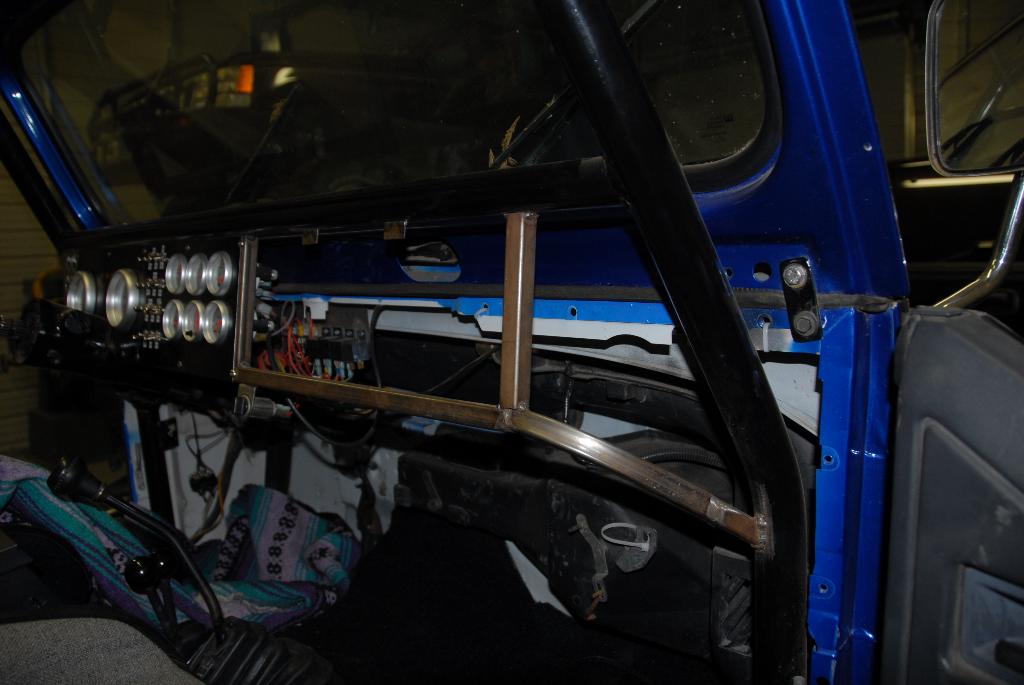
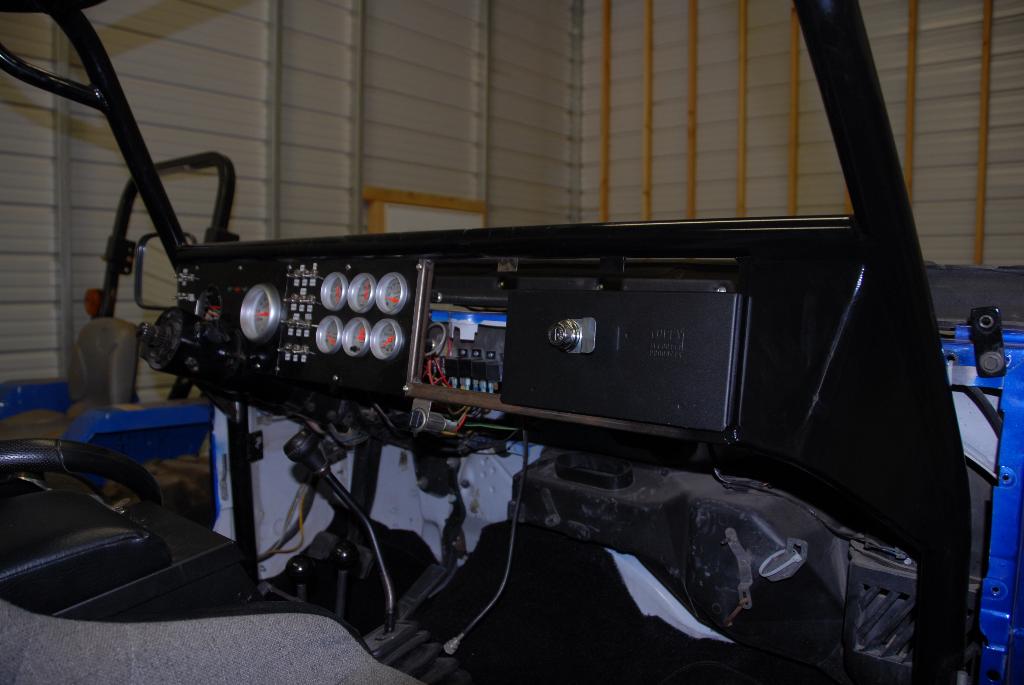
11/17/05 - I ordered gauges from
Summit Racing today. Spent a lot more than I really wanted to, but they're
all electrical which means easier installation. In 3 3/8" I ordered speedo
and tach. In 2 1/16" I ordered water temp, oil pressure, voltmeter, fuel
level, air pressure and a clock.
11/18/05 - All the gauges arrived today! Wow
they're fast! I won't be able to work on this project for a while since
the Jeep is getting painted.
11/23/05 - I ordered 3 linear actuators from McMaster-Carr today. They will open and close the doors in the heat/vent system. I don't want to put the stock levers back in there with the new dash. Two of the actuators will open the fresh air vents (driver's side and passenger's side). The third actuator will slide the heat selector between full heat and no heat. For fan control I'll have High-Off-Low on a three position lever switch. In total there will be 3 switches that replace all the levers and the only thing I loose is Defrost (never use it anyways and don't want to re-route the air in the new dash).
11/28/05 - The 3 linear actuators arrived today. It's going to be a challenge to mount them and the return springs, but that's later.
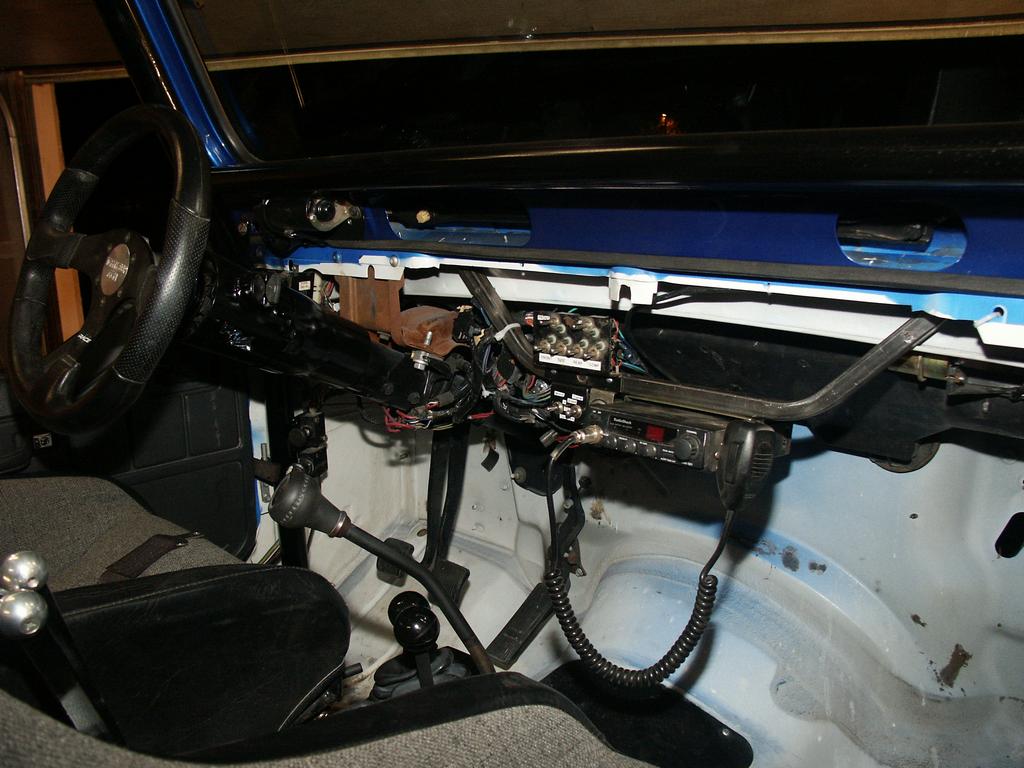
12/22/05 - I made a
temporary dashboard today. It's just to hold the switch panels and the CB.
We're taking a trip to Calico for New Years weekend and I won't have the time to
make anything permanent.
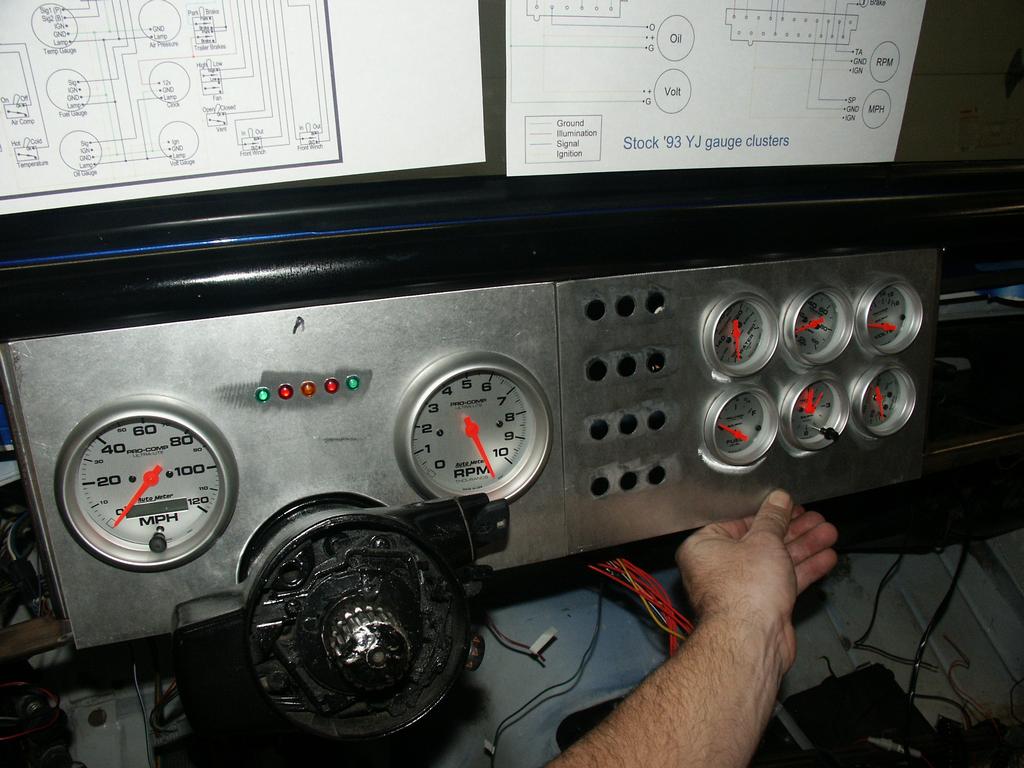
01/11/06 - A few days ago I installed the heater components, but hadn't wired a switch. Today I wired the switch. Also a few days ago I installed the temperature gauge. Last weekend we were wheeling in the mountains behind Calico and I could smell something strange. I didn't know if I was overheating because I had no gauges. I think the smell was the new paint on the underside of the hood and inside the fenders. We stopped a few times just in case, but the water never boiled and everything seemed fine. The other day the only temperature sender I could find was on the thermostat housing. I swapped it out for the sender included with the gauge, but I knew that would cause a problem with the computer. Today I found the other sender (the one dedicated for the stock gauge) so I re-installed the stock sender in the thermostat housing and moved the Auto-Meter sender to the new location. Now the computer should read the temp like it always does, and the gauge works.
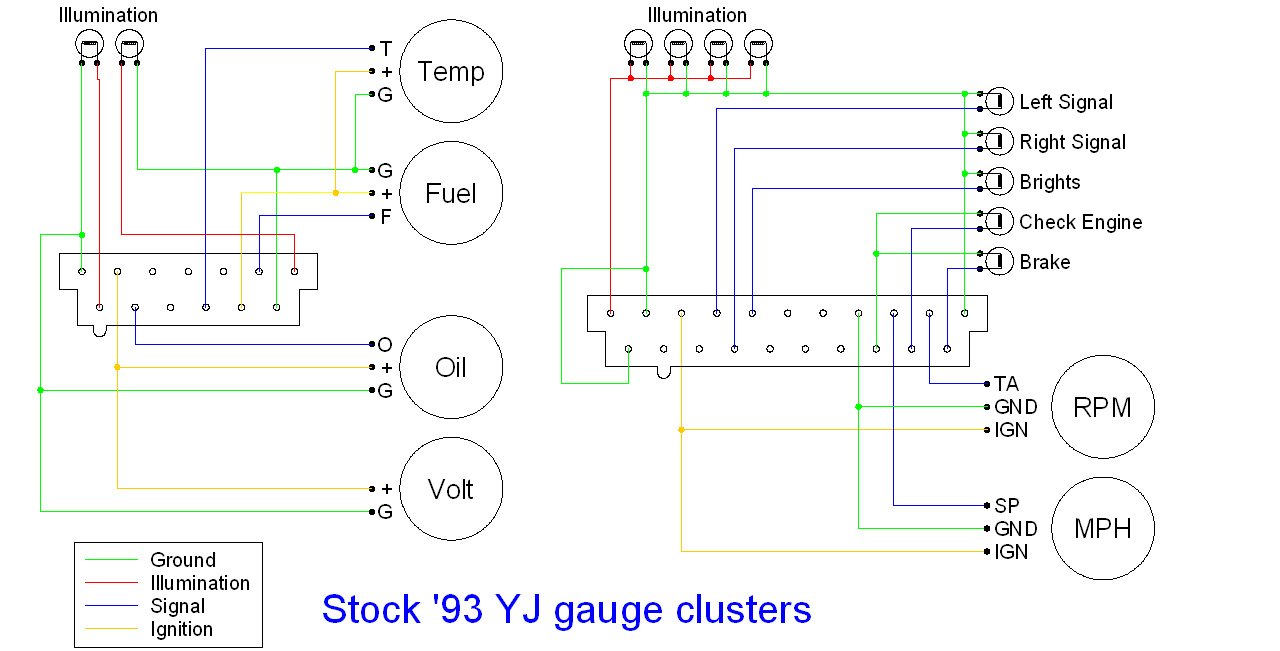
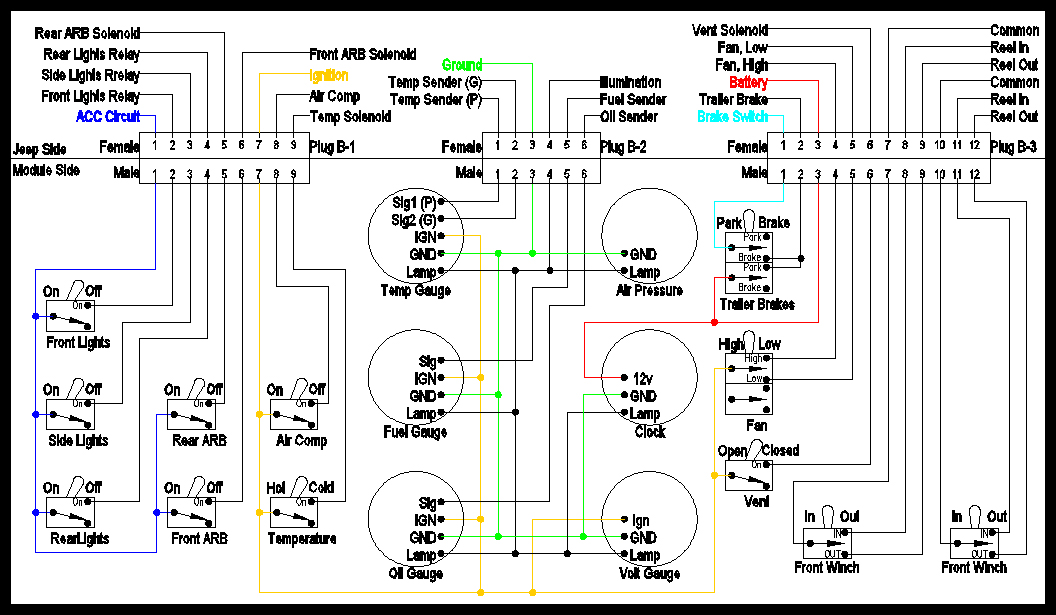
Today I also reverse engineered the gauge clusters. Now
I'll have a reference when I chop the stock wires to tie into the new gauges.
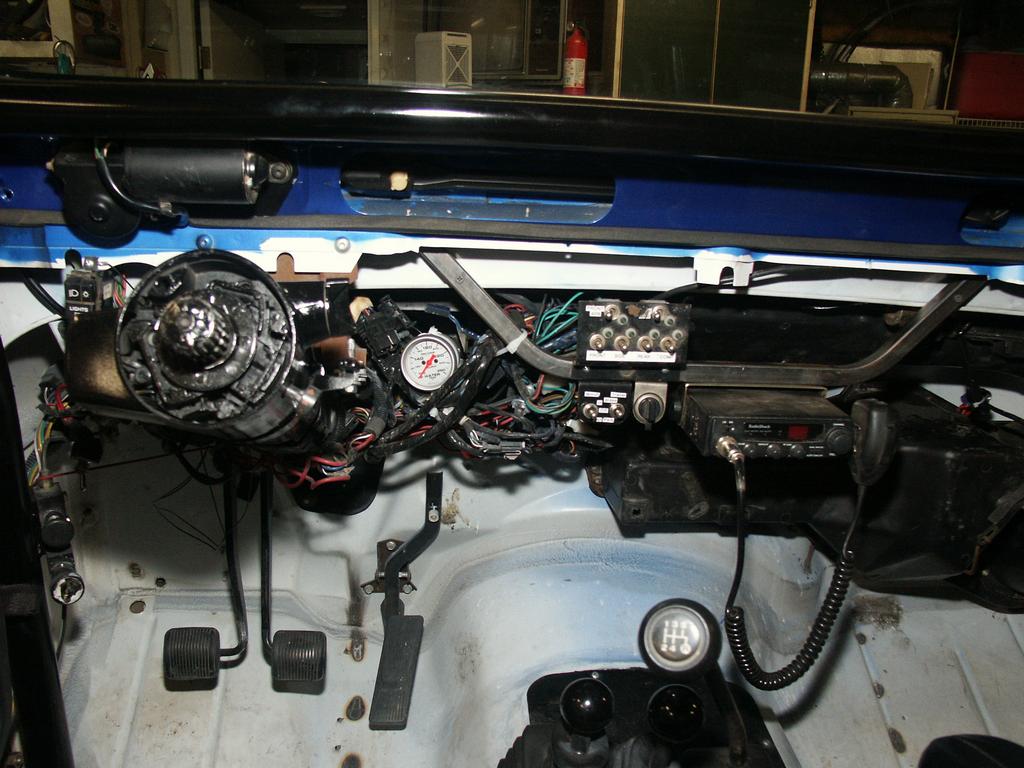

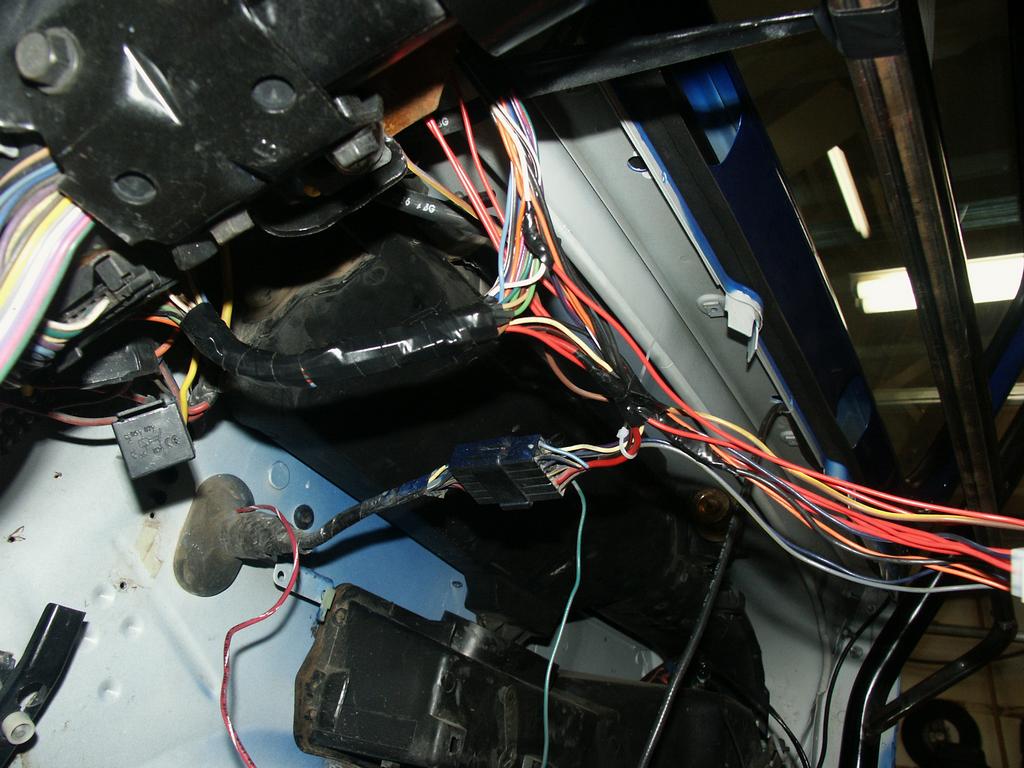
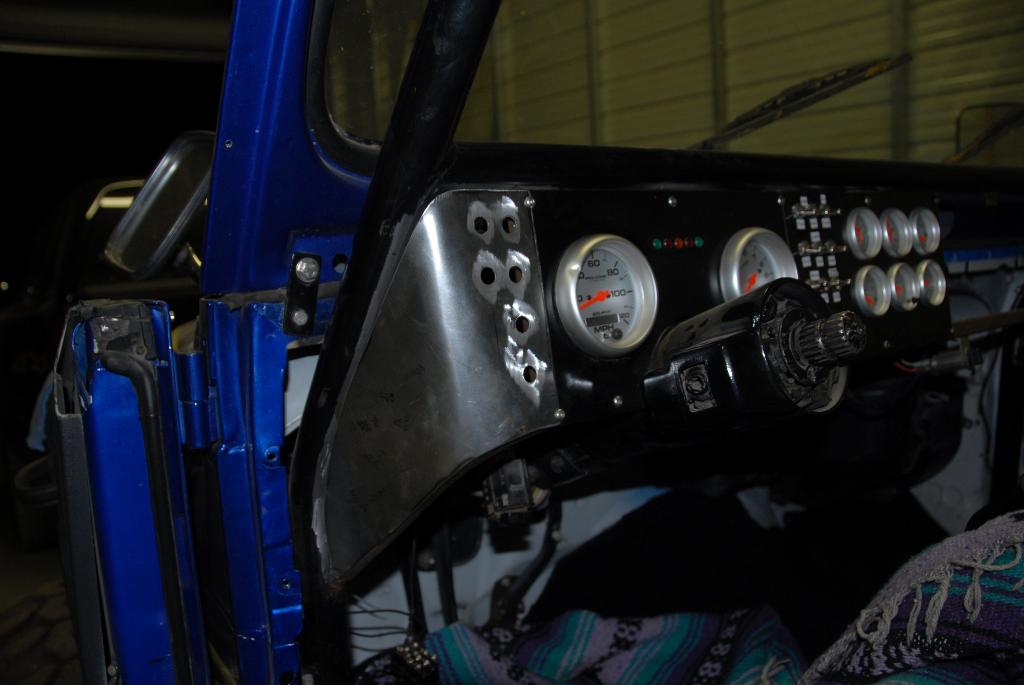
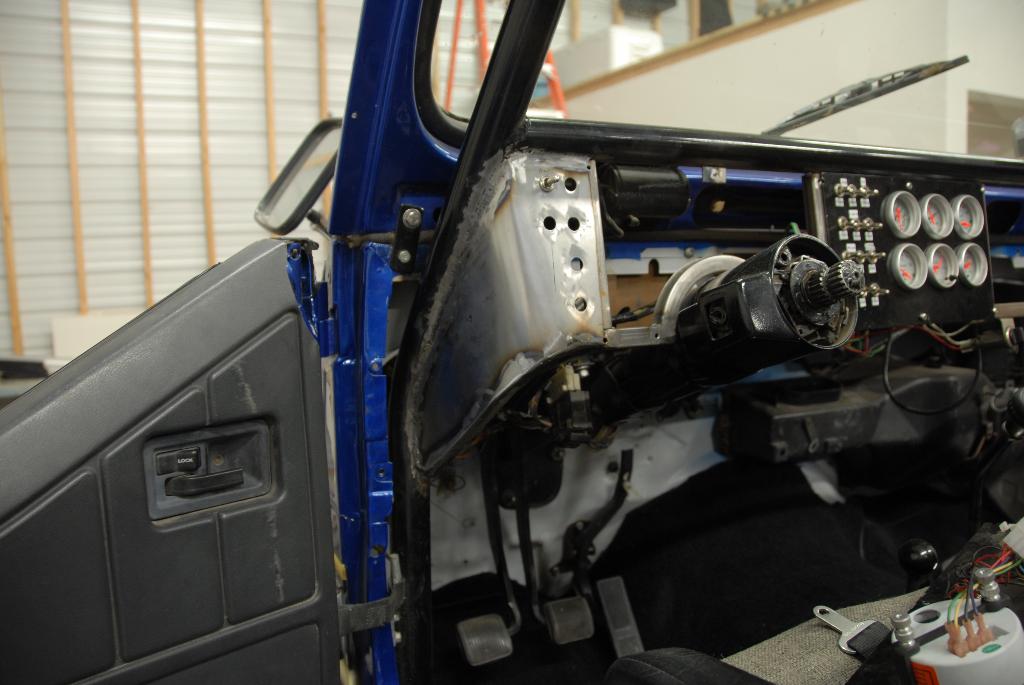
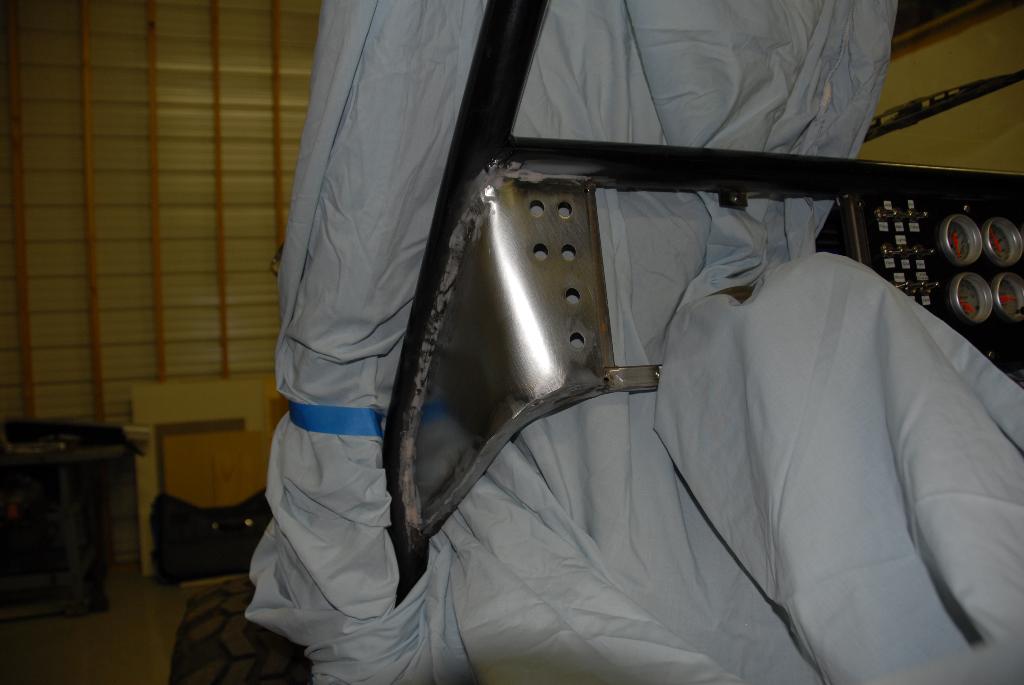
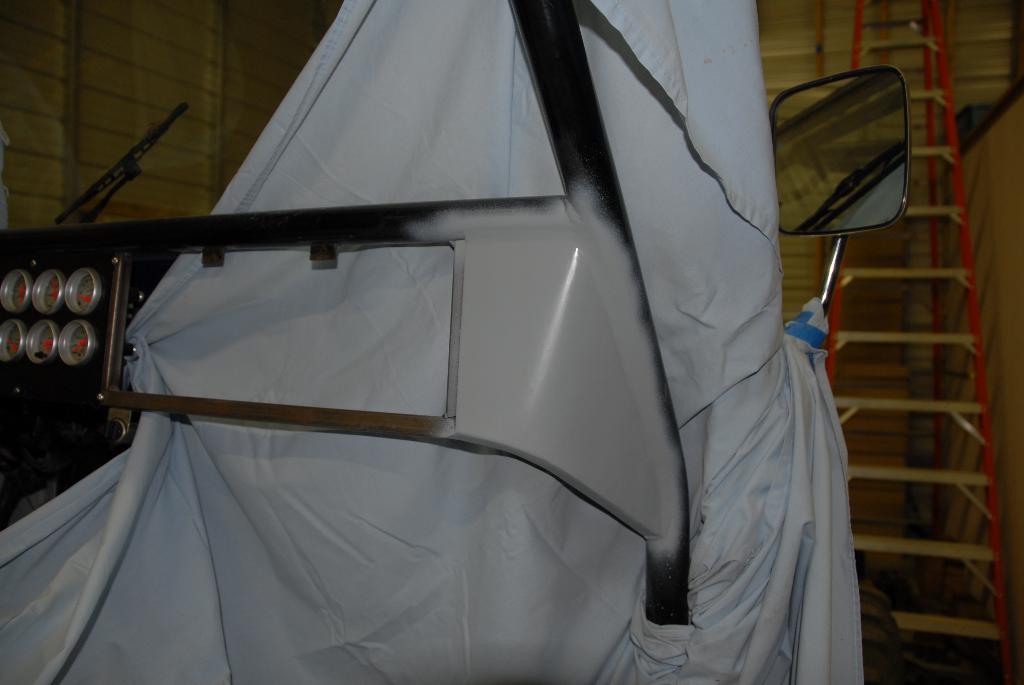
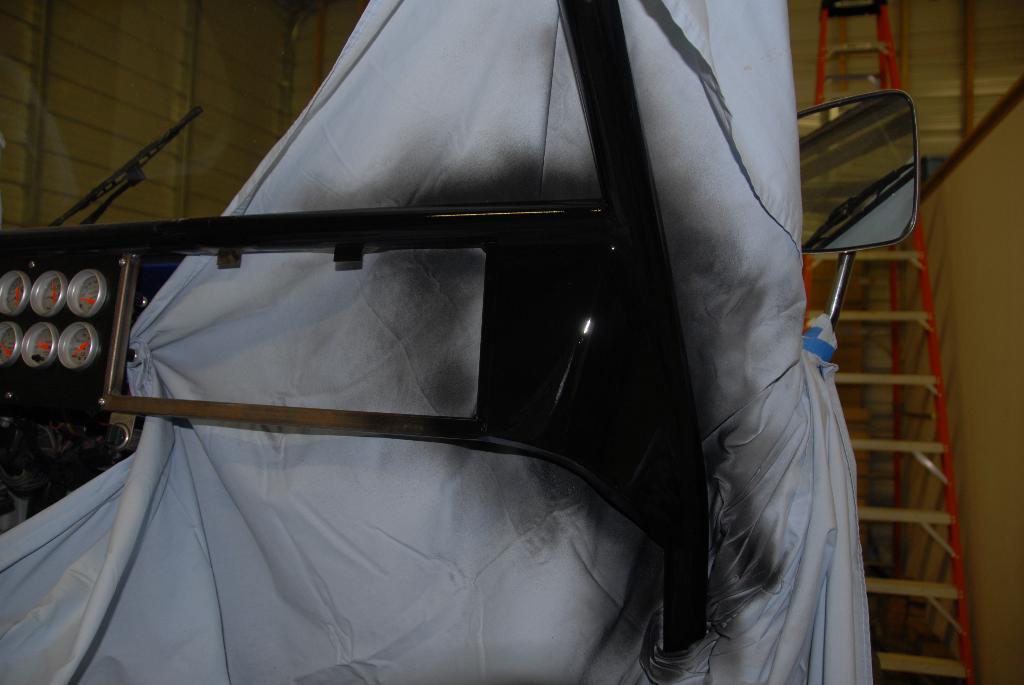
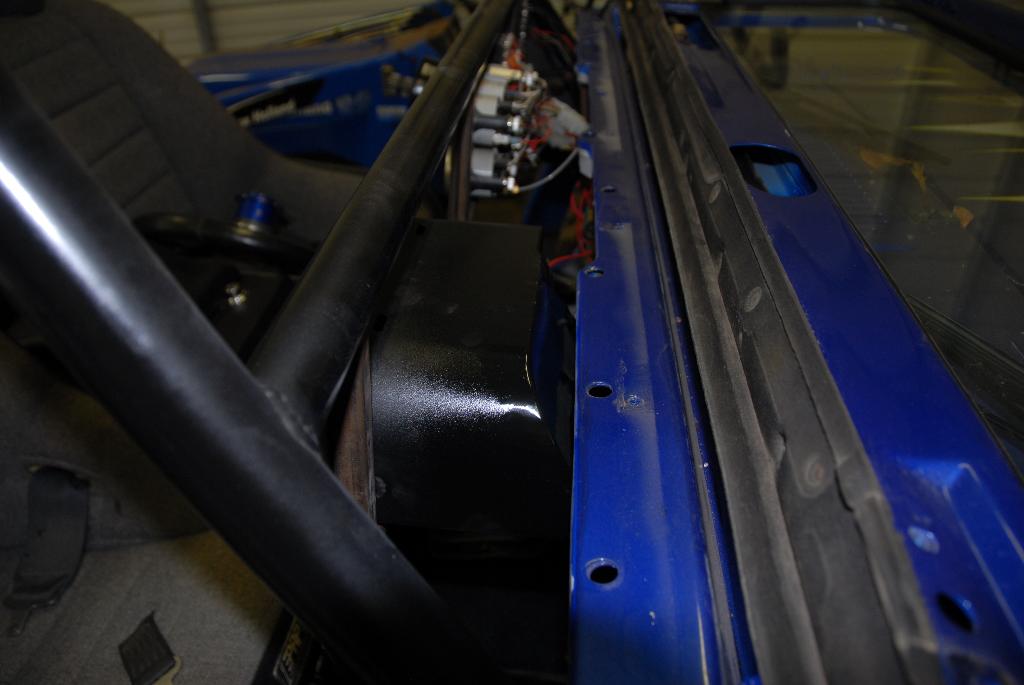
01/25/06 - For about a week now I've been working on the dash
project again, I just haven't updated the website. I built the square
tubing structure for the dash panels and I cut out 2 of the 5 panels. The
3rd straight panel will be a piece of cake, but the curved end panels will prove
to be a challenge for me. As you can see in the pictures I've done some
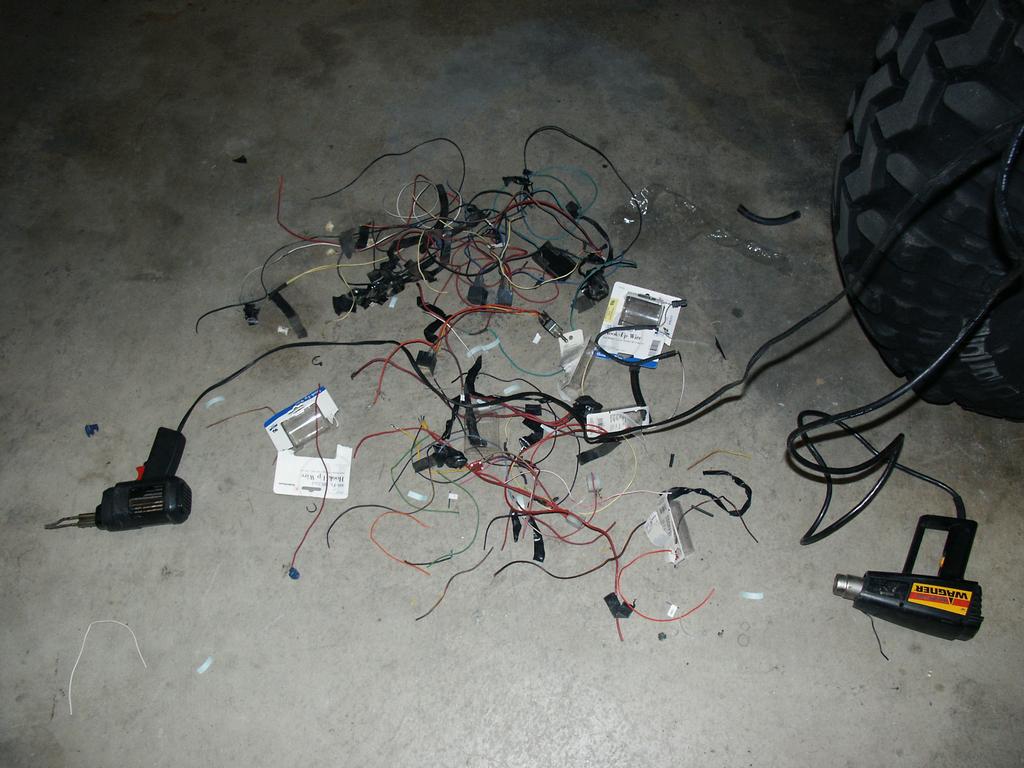
wire work too. The pile of wires on the garage floor is actually the 3rd
such pile I've made so far. I'm trimming out wires that I don't use
anymore and I'm shortening the runs that are just way too long. Tonight I
did the bulk of the shortening on the center of the dash. Soon I'll
shorten the few wires on the driver's side that need it. I also started
wiring the plugs that go to the dash panels.

![]()
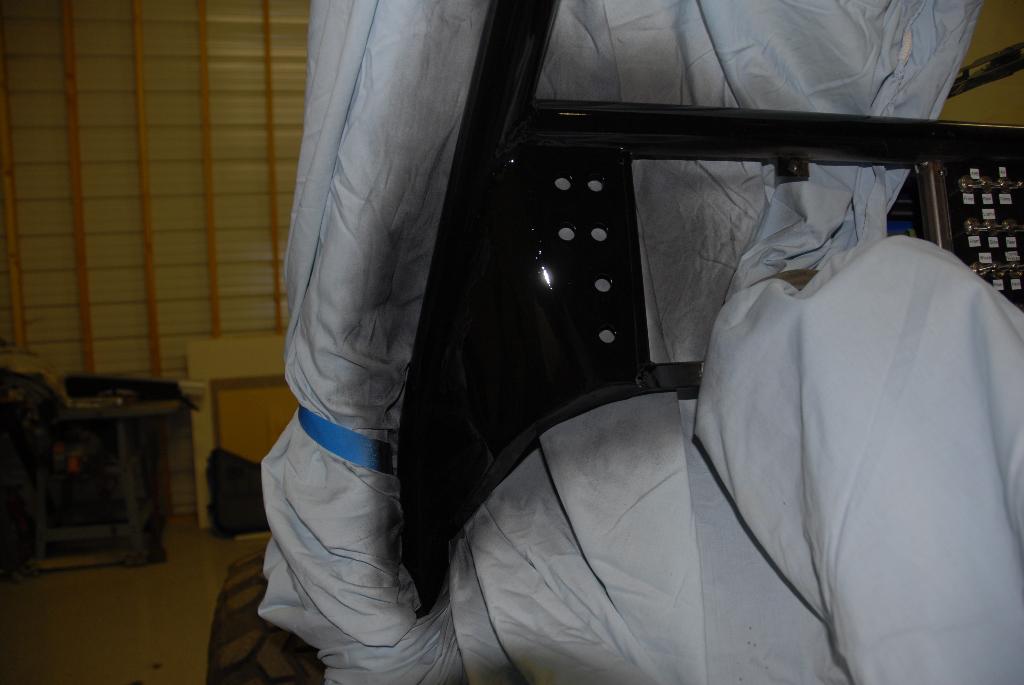
08/04/09 - This project has sat dormant for far too long. I got the gauges and wiring functional and haven't worked on it since. I recently did a little sheet metal work making a doghouse cover. That required rolling the sheet metal to match the floor. It wasn't as tricky as I thought it was going to be, so I feel prepared to make the end curved panels. Also, I ordered my Tuffy Glove Box today. It's a CJ style, so it will mount in the flat panel in front of the passenger.
08/16/09 - I finally gave the
curved panels a go this weekend. They are going easier than I thought.
Natalie got me some 12x12 construction paper and together we made the templates.
I managed to get them both cut out of metal and I got the driver's side
panel shaped to fit. I drilled holes for the brake lock-out switch,
headlights, ACC and a couple extra switches. Tomorrow I hope to start
welding the panel in and maybe start shaping the passenger side.
08/19/09 - I got the panels welded
in place. My welder is 100 years old and a piece of junk so I wasn't very
happy with the welds. I opted to overweld for coverage, then sand it down.
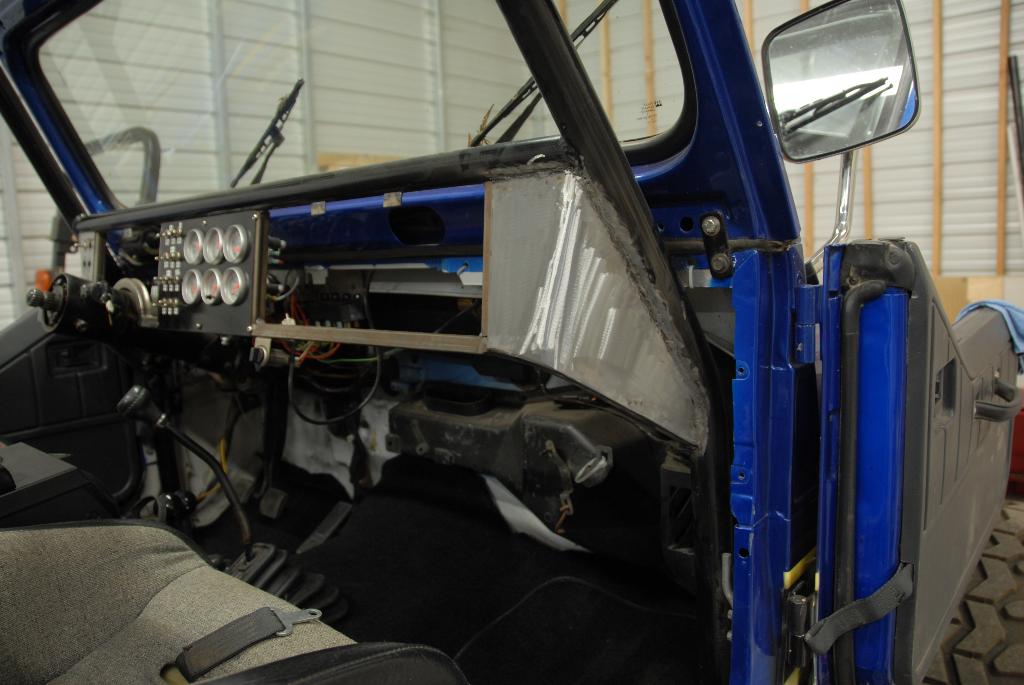
08/20/09 - I used Bondo to smooth
out the transitions. Then I primered and painted. Overall I'd say it
looks OK, but it's far from perfect.

08/22/09 - I wired up my switches and labeled them today. No pics though.
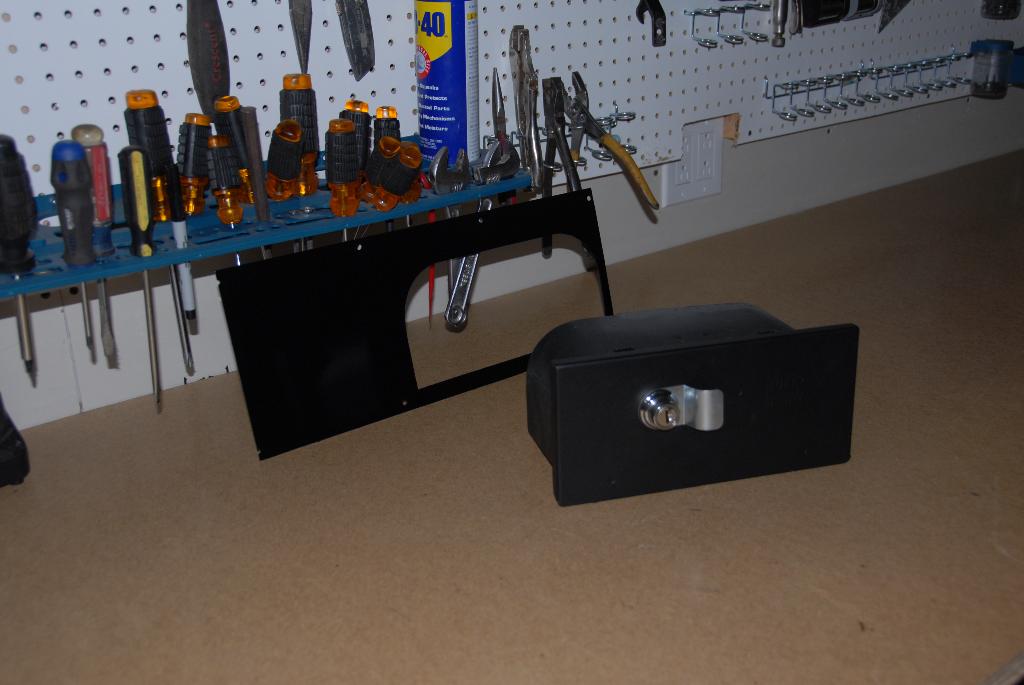
08/23/09 - The Tuffy glove box I
received was just a little too deep for the space I set aside for it. My
dash is a little closer to the seats and much higher than normal. I had to cut an
angled section off the back of the glove box so it would fit. I also made
the panel that will surround the glove box. I don't have the allen screws
that I need to install the panel. I'm also contemplating adding an
indicator light for my brake bypass system.
08/24/09 - I picked up the Red 12v LED for the brake bypass system. This will remind me that either my front brakes or my rear brakes have been disabled. The nice thing about my 3-way switch is that I can only disable one axle or the other, not both at the same time.